Stickers have evolved far beyond childhood collectibles into powerful tools for personal expression, brand marketing, and creative communication. Today's digital creators and small business owners depend on custom stickers to build brand awareness, engage audiences, and create memorable visual experiences. From laptop decorations to marketing materials, stickers offer an affordable way to make any message stick .
The real magic happens when you can transform ordinary photos into professional-looking stickers. This comprehensive guide walks you through every step of the sticker creation process, from selecting the perfect image to producing print-ready files that rival expensive design services.
What Is Background Removal and Why It Matters
Background removal technology represents the base of professional sticker design. This computer vision process automatically separates your main subject from its surrounding environment, creating clean, focused images that work perfectly as stickers. Think of it as digital scissors that cut around your subject with pixel-perfect precision.
The importance extends beyond aesthetics. E-commerce platforms like Amazon, eBay, and Etsy require product images with clean white backgrounds for E-Commerce Products for optimal visibility. Professional marketers understand that distraction-free images convert better because viewers focus entirely on the product or message rather than competing visual elements.
Modern AI algorithms analyze color patterns, edge detection, and contrast levels to distinguish between foreground subjects and background elements. What once required hours of manual Photoshop work now happens automatically in seconds, democratizing professional design capabilities for everyone.
Step 1: Choose Your Image Carefully
Success starts with smart image selection because the quality of your source photo directly impacts the final sticker’s professional appearance and usability. Choose photos where the main subject has sharp, well-defined edges that stand out clearly from the background. Portraits taken against solid-colored walls or product shots with simple backdrops work especially well. High contrast between subject and background provides AI tools with the visual information needed for accurate cutting.
Resolution also plays a major role in output quality. For digital stickers, begin with images at least 1000 pixels wide, and for print applications aim for 2000 pixels or more. Higher resolution preserves fine details and ensures crisp edges when scaling stickers for different uses. Avoid photos where the subject blends into backgrounds of similar colour, such as a white shirt against a white wall, as these create difficult edge detection scenarios and may require extra manual editing.
Step 2: Remove the Background
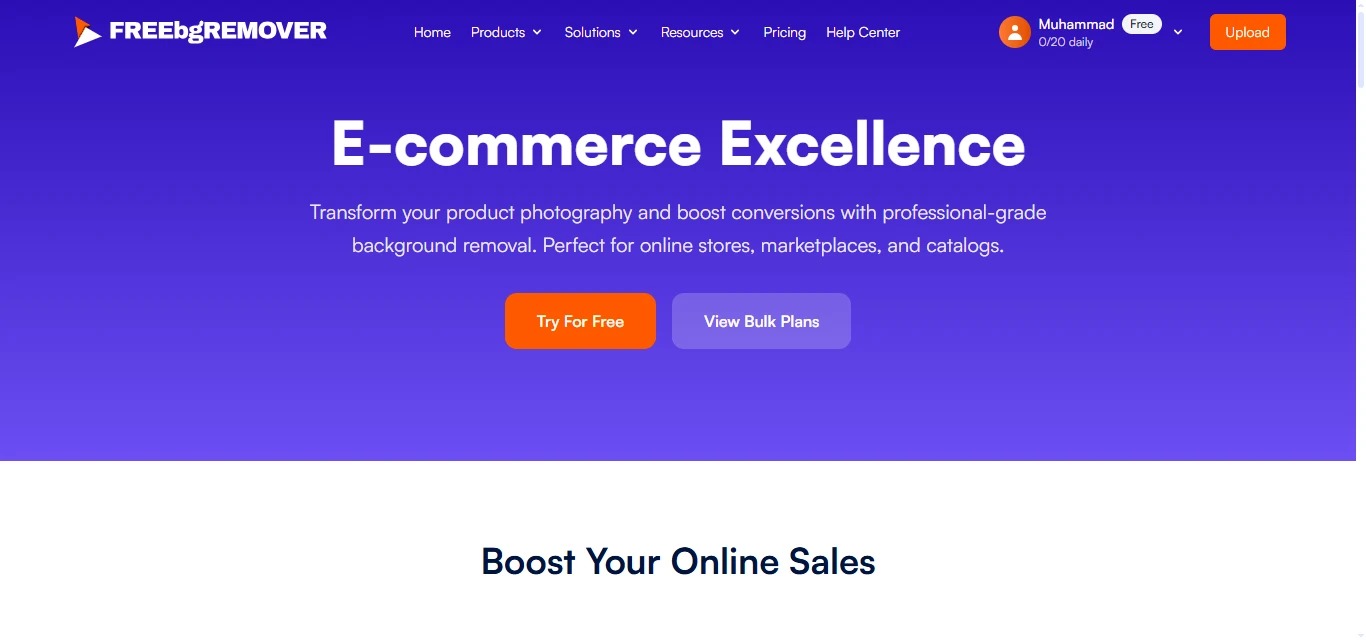
The background removal process transforms any regular photo into sticker-ready artwork, and FreeBgRemover shows how modern AI makes this once complex task effortless. With intelligent subject detection and precise edge cutting, the tool automatically identifies the main subject the moment you upload an image. You can simply drag your photo into the interface or click the upload button, and the AI begins analyzing details instantly. Trained on millions of photos, it cleanly separates the subject from its original background within seconds.
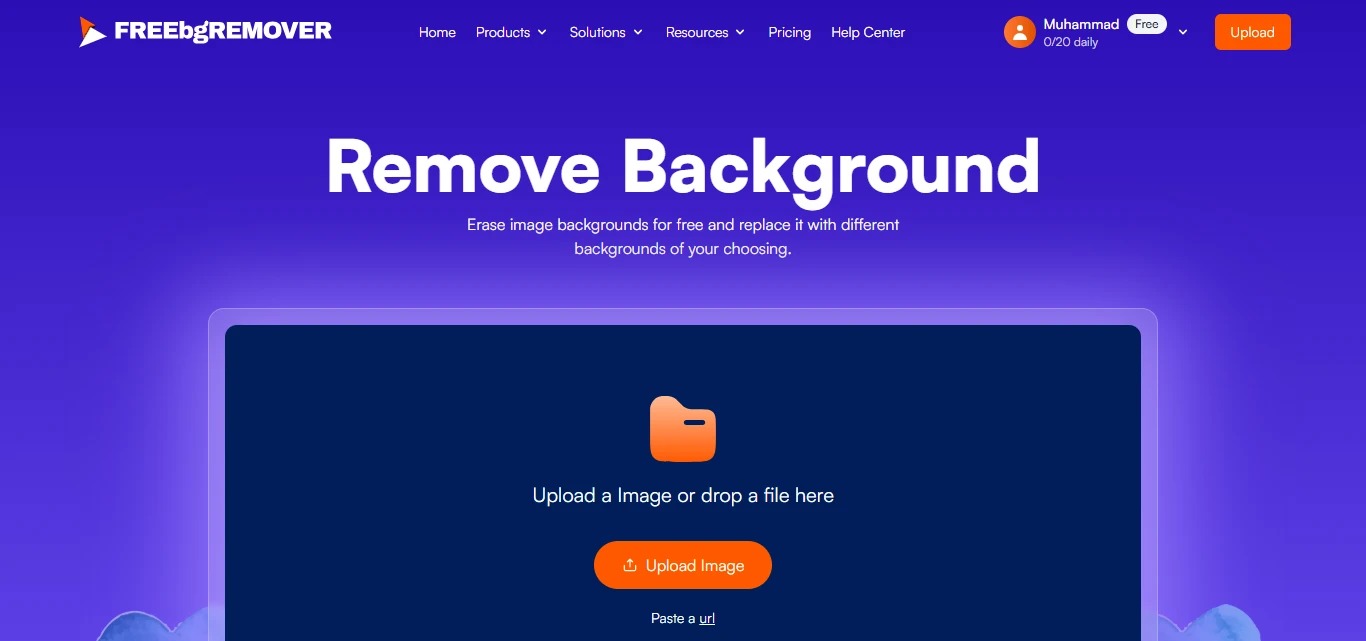
What makes this process powerful is its ability to handle tricky elements such as hair strands, transparent objects, and fine edges that usually frustrate manual editing. Advanced tools like FreebgRemover and Canva Background Remover rely on the same technology to deliver professional results without requiring design skills. Once complete, you can download your image as a PNG with a transparent background. This format preserves both image quality and transparency, making it perfect for stickers, E-commerce, or creative projects.

Step 3: Customize the Sticker Appearance
Raw cutout images need styling touches that transform them into polished, professional stickers. This customization phase separates amateur attempts from designs that truly command attention. Adding borders is one of the most effective techniques, as it creates visual definition and ensures the sticker stands out against any background. White outlines work universally well, providing contrast on both light and dark surfaces. For digital stickers, a 6–8 pixel stroke is ideal, while printed stickers benefit from slightly thicker borders.
Drop shadows further enhance the design by adding depth and making stickers appear to float above the surface. Subtle shadows with a 2–4 pixel offset and 20–30% opacity create a refined effect without distracting from the main image. Equally important is padding around the subject, which prevents essential details from touching the edges. Leaving 10–15% margin space ensures the design feels balanced and avoids details getting lost during printing or looking cramped in digital applications.
Step 4: Save or Download Your Sticker File
Proper file formatting is essential to ensure stickers look professional and avoid the common quality issues that ruin beginner creations. For digital stickers used in messaging apps and social media, exporting in PNG format works best since it preserves transparency while keeping file sizes efficient for sharing. Aim for target dimensions that match the platform and keep file sizes under 100KB to maintain quick load times without sacrificing clarity.
Print applications demand higher resolution and precision. Always design at the final output size using 300 DPI to achieve sharp, professional results. Vector formats like SVG are ideal for simple designs because they scale infinitely without quality loss, making them perfect for anything from small labels to large decals. Professional printing services typically accept PNG, PDF, or vector files depending on the project. PNG works well for photographic content, PDF handles mixed design elements, and vector formats deliver flawless scaling for text-heavy or geometric designs.
Using Stickers Digitally: Chat and Social Media
Digital sticker integration opens creative possibilities across numerous platforms, each with specific technical requirements and user expectations that smart designers accommodate. WhatsApp sticker specifications require exactly 512x512 pixel dimensions in PNG format with transparent backgrounds. File sizes must stay under 100KB, and the platform strongly recommends 8-pixel white outlines plus adequate margins to prevent edge clipping. Creating sticker packs involves bundling multiple designs following these consistent guidelines.
Telegram accepts larger file sizes and varied dimensions while maintaining similar transparency requirements. Discord, Signal, and other messaging platforms have comparable but slightly different specifications that successful sticker creators research and follow precisely.
Social media platforms like Instagram Stories and Snapchat support custom stickers through their camera interfaces, allowing users to overlay personalized designs onto photos and videos for enhanced engagement and brand visibility.
Printing Your Stickers
Physical sticker production transforms digital designs into tangible marketing materials and personal decorative elements that create lasting impressions in the real world. Home printing using adhesive sticker sheets offers immediate gratification and cost-effective small batch production. Arrange your transparent PNG files efficiently on letter-sized pages, leaving space between designs for easy cutting. Inkjet printers handle most sticker papers well, though laser printers work better for certain adhesive materials.
Professional printing services provide superior quality, specialized materials, and finishing options impossible to achieve at home. Die-cut stickers follow your design's exact shape, while kiss-cut options allow easy peeling from backing sheets. Weather-resistant materials ensure outdoor durability for applications like car decals and equipment labeling.
Clear stickers require special consideration because transparent materials show underlying surfaces. Many print services use white ink underlays to ensure design visibility against varied backgrounds, a technique particularly important for text-heavy stickers or designs with fine details.
Tips for Best Results
Mastering sticker creation requires attention to technical details and design principles that separate professional results from amateur attempts. Begin with the highest quality source images available, as well-lit photographs with sharp focus give AI tools the information they need for accurate subject detection. Natural lighting often works better than harsh artificial lighting because it captures subtle color variations that help algorithms distinguish edges more effectively. When AI tools make mistakes, manual refinement options like erase and restore brushes allow you to fix stubborn background remnants or recover lost subject areas. This is especially useful for complex elements such as hair, fur, or semi-transparent objects.
Consistency is key when creating a collection of stickers. Standardizing border styles, shadow effects, and overall aesthetics ensures your designs look like part of a professional series rather than a set of random experiments. This cohesive design language is particularly important for branding, where stickers serve as extensions of your visual identity. Before finalizing, always test your stickers across their intended use cases. Preview digital stickers on different backgrounds to confirm visibility and print test copies on actual sticker material to check colors, sharpness, and adhesive quality.
Finally, always respect intellectual property rights when using existing imagery. Stick to photos you own, have permission to modify, or source from royalty-free libraries. Commercial projects especially require careful attention to licensing and attribution. Beyond compliance, keep experimenting throughout the process. Modern design tools make it easy and cost-free to explore multiple border styles, color variations, and effects. Often, the most impressive stickers emerge from playful exploration and unexpected creative choices.
Conclusion
Converting photos into custom stickers has never been easier thanks to AI-powered background removal technology and intuitive design tools. This process makes professional design accessible to everyone, allowing anyone to create compelling visual content for personal use or business marketing. The key is to understand each step and focus on quality details. Start with high-contrast source images, use AI for clean background removal, apply thoughtful styling touches, and export in the right formats for your intended applications.
Whether you want to build brand awareness with memorable marketing materials, personalize your digital communications, or explore creative expression through custom designs, sticker creation offers endless opportunities. Tools like FreeBgRemover place professional-grade capabilities at your fingertips, transforming ordinary photos into extraordinary visual statements. Experiment with images from your own library and you may find your next great design idea ready to come to life as the perfect sticker.