Why background removal matters for e-commerce
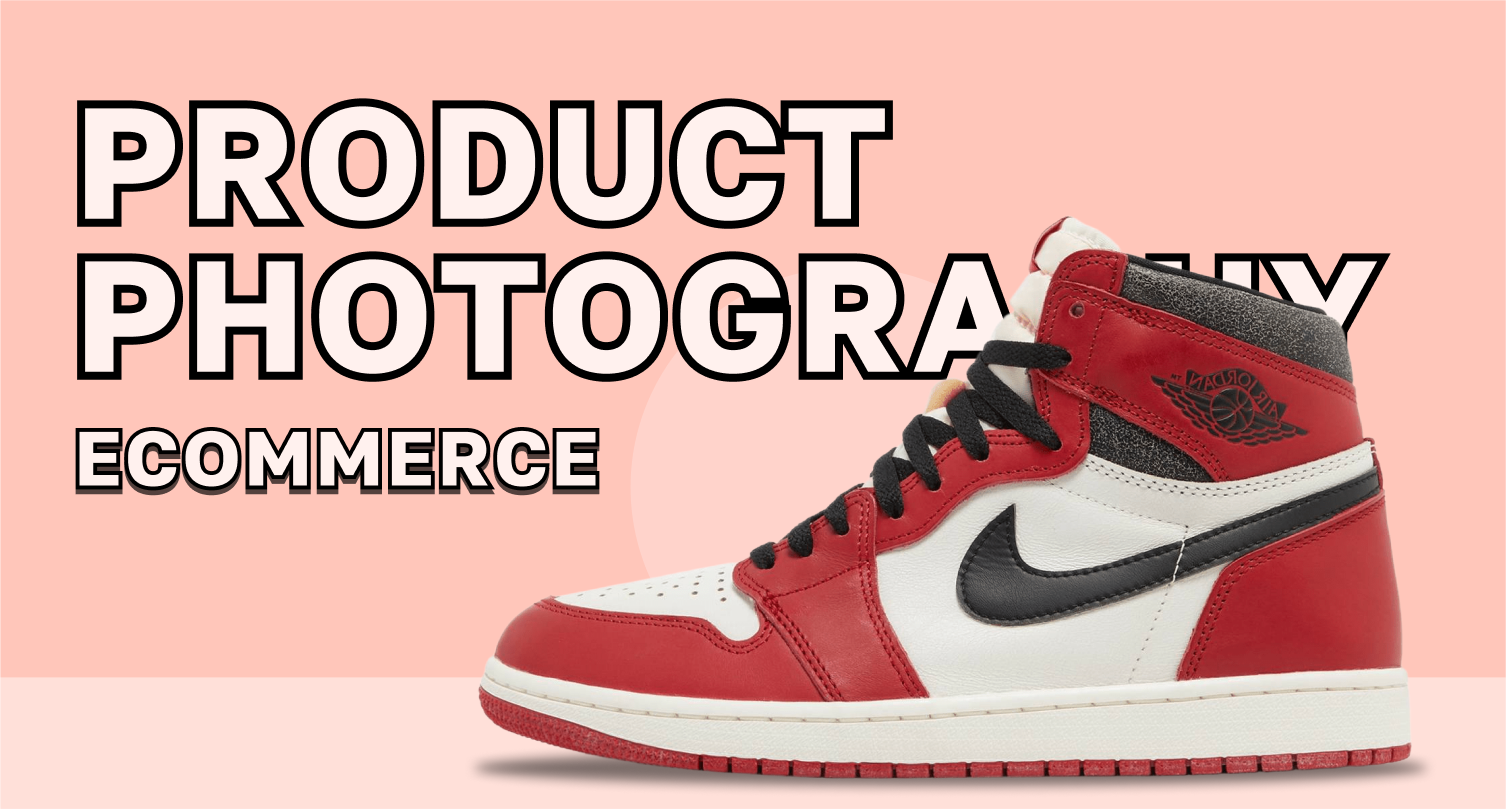
Your product image is the first, often only, chance to convince a browser to become a buyer. Listings with professional imagery consistently convert better: several industry studies and guides report that professional photos can lift conversions significantly (one analysis found up to ~30% higher conversion when photos look professional and provide product detail).
Removing distracting backgrounds puts the product center stage, helps viewers judge size/shape/color, makes images consistent across a catalog, and meets marketplace rules (for example, main images on major platforms often require a white or plain background). We'll dig into benefits, technical specs, and practical workflows below.
Benefits at a glance
-
Improved focus & clarity: Cleaner images show the product without distractions.
-
Higher perceived value: Clean, consistent visuals make products look more trustworthy and premium.
-
Marketplace compliance: Amazon and many marketplaces require a plain/white background for main images.
-
Faster page speed (when optimized): Use modern formats and compression to keep load times low.
-
Easier merchandising: Transparent backgrounds let you place a product on banners, lifestyle templates, or mockups without re-shooting.
Quick workflow: From shoot to ready-for-store
-
Shoot with the end in mind
-
Use a tripod for consistent framing.
-
Capture a front-on white-background main shot (if selling on marketplaces).
-
Add at least 3–5 detail/lifestyle angles (contextual shots increase buyer confidence).
-
Shoot an extra high-resolution file for zoom and cropping later.
-
-
Select the hero image
-
Choose the clearest, most representative shot for the main listing image.
-
-
Remove the background
-
Use a precise background-removal tool (manual masking or AI automated). For fast, accurate results try a specialist tool like freebgremover.com to create a clean product cutout in seconds.
-
-
Refine & retouch
-
Fix small dust, reflections, or color issues.
-
Ensure proper shadowing (natural drop shadows make products look grounded and realistic).
-
-
Export & optimize
-
Save master PNG (or layered TIFF) for your archive.
-
Export web versions in efficient formats and sizes (recommendations below).
-
-
Upload & test
-
Add images to your product page, test mobile and desktop views, and check page load times.
-
What image sizes and zoom requirements should you use?
For high-quality zoom and consistent display, e-commerce platforms have recommended sizes. Shopify and other major platforms recommend square images around 2048 × 2048 px for product photos, and to enable zoom features images should be at least 800 × 800 px. Upload limits vary but Shopify allows up to 5000 × 5000 px and file sizes up to 20 MB, practical file sizes for web use are usually much smaller.
For marketplaces like Amazon, the main image typically must be between 500–10,000 pixels on the longest side and meet white-background rules; the product should occupy ~85% of the frame.
Practical rule: For most online shops, export a 2048 × 2048 px master image and use compressed versions for delivery (see formats & compression below).
Best image formats (and why WebP matters)
Modern e-commerce sites must balance quality and speed. WebP offers superior compression compared to older formats: WebP lossless images are notably smaller than PNGs, and WebP lossy images are typically 25–34% smaller than comparable JPEGs at similar quality, which can speed page loads and improve UX on mobile.
-
Master archival: PNG (lossless) or TIFF for layered masters and archives.
-
Primary web images: WebP where supported (smaller files with same quality). Provide JPEG fallbacks for unsupported contexts if you need maximum compatibility.
-
When to use PNG: For images with true transparency (e.g., logos or cutouts with alpha) if you cannot use WebP with alpha support. WebP also supports transparency with better compression, so modern workflows prefer WebP.
File size targets for performance and SEO
Large images slow pages and hurt conversions. Aim for 100–300 KB per product image on product pages if possible; reserve larger files (up to a few MB) only for zoom/zoomed views or downloadable assets. This balance helps maintain visual quality while keeping load times fast.
Use lazy loading for non-critical images and leverage CDNs + responsive srcset to deliver the right size to each device.
Marketplace rules & best practices (Amazon example)
If you sell on Amazon or similar marketplaces, the main image rules often require:
-
Pure white background (RGB 255,255,255).
-
Product occupies ~85% of the image frame.
-
No watermarks, logos, or promotional text.
Removing the background and placing the product on a pure white canvas is the fastest way to meet those rules and present a consistent, compliant main image.
Lighting, shadows, and realism after background removal
A perfectly cut-out product can look unnatural if it’s floating without a shadow. After removing the background:
-
Add a natural drop shadow or contact shadow beneath the product to ground it. Subtlety is key, too-strong shadows look fake.
-
Preserve specular highlights and texture when retouching, customers expect to see finish and detail (e.g., leather grain, fabric weave).
-
For lifestyle imagery, place the cutout into a high-quality environment and color-correct to make it feel integrated.
Batch processing & efficiency tips
If you have many SKUs:
-
Create a standard template (canvas size, shadow style, output filename pattern).
-
Use batch background removal tools or bulk APIs, many tools let you upload folders and receive processed PNG/WebP outputs.
-
Keep a source folder with raw high-res files and a web folder with optimized exports (WebP/JPEG).
The SEO angle: how background removal helps search & CRO
-
Faster pages = better SEO: smaller, optimized image files improve page speed signals used by search engines. Using modern formats like WebP reduces bytes transferred without sacrificing visual quality.
-
Better CTR in SERPs and shopping feeds: clear thumbnails and consistent imagery increase clicks in search results and shopping ads.
-
Structured data & visual relevancy: high-quality images improve rich snippets and product card appearance in search results.
Step-by-step: remove background + prepare product photo (detailed)
-
Select your best raw image (preferably high-res, tripod-shot).
-
Upload to your background removal tool (e.g., freebgremover.com) and choose the cutout option.
-
Inspect and refine the mask, check edges, fine hair/threads, and shadows. Use manual refine tools if needed.
-
Export master file (PNG or TIFF) for archives.
-
Create web versions:
-
2048 × 2048 px WebP for main product pages (or 1200–1800 px depending on layout).
-
800 × 800 px or smaller thumbnails for category pages.
-
-
Compress to ~100–300 KB for product pages; save a higher-res zoom image if needed (up to a few MB).
-
Name files with SEO-friendly alt text (more on that below).
-
Upload with structured data in your CMS (schema.org/Product images).
Alt text, captions & accessibility (SEO best practice)
Alt text helps search engines and accessibility tools understand images. For product images:
-
Use descriptive, concise alt text: “Men’s navy cotton polo shirt, front view, size M” rather than “image123.png”.
-
Include SKU or variant info in secondary images if relevant.
-
Keep alt text natural; prioritize user benefit not keyword stuffing.
Quick checklist you can use today
Shoot hero shot on neutral backdrop; tripod recommended.
Capture 3–5 additional angles (scale, detail, lifestyle).
Remove background using an automated tool, refine edges.
Add natural, subtle shadow.
Export master PNG/TIFF + web WebP/JPEG optimized files.
File-size target: 100–300 KB for product images; >800 px for zoom.
-
Name files with descriptive SEO-friendly names.
-
Add alt text and upload with structured product data.
Common mistakes to avoid
-
Using inconsistent aspect ratios across product listings (use 1:1 or consistent aspect across category).
-
Over-compressing images until details and colors are lost.
-
Skipping the shadow, make the product feel unnatural.
-
Ignoring marketplace rules for main images (white background, size requirements).
Tools & resources
-
Background remover: freebgremover.com, fast automated cutouts that preserve edges and fine detail.
-
Compression & conversion: use tools or build automated pipelines to produce WebP plus JPEG fallbacks. Google’s WebP docs explain the benefits and compression stats.
-
Platform guides: follow Shopify’s image-size recommendations and Amazon seller image rules for compliance.
Final thoughts: small changes, big returns
Product images are the unsung conversion driver for e-commerce. Removing distracting backgrounds and treating your images with an editorial eye, consistent frames, correct format, optimized sizes, and grounding shadows, yields better product presentation and measurable conversion lift. Start with your top 10 SKUs: remove backgrounds, optimize files, test pages, and measure conversion differences. You’ll likely see uplift in click-through and add-to-cart behavior within weeks.
If you want a fast place to start, try processing a batch of 10 hero images through freebgremover.com and prepare WebP exports for your product pages, it’s one of the easiest, highest-impact optimizations for an online store.

